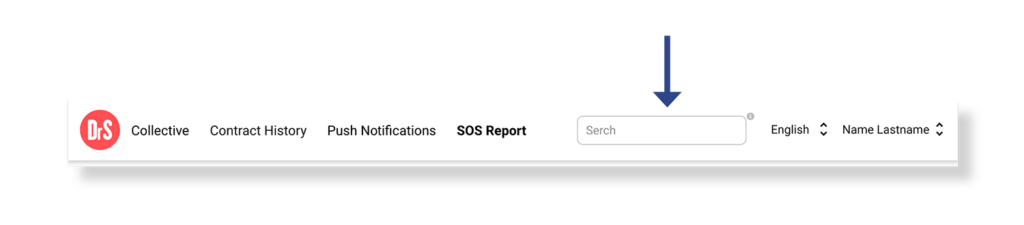


There are two ways to filter the information, the first using the Search that is enabled in the main menu after accessing the SOS Report section and the second through the Filters.
Serch
The Search Engine will allow you to write the parameter, starting the search automatically. Providing you the opportunity to search by any of the parameters listed in the data table, for example: alert ID, application user name, application user last name, affiliate number or contract ID.
Filter
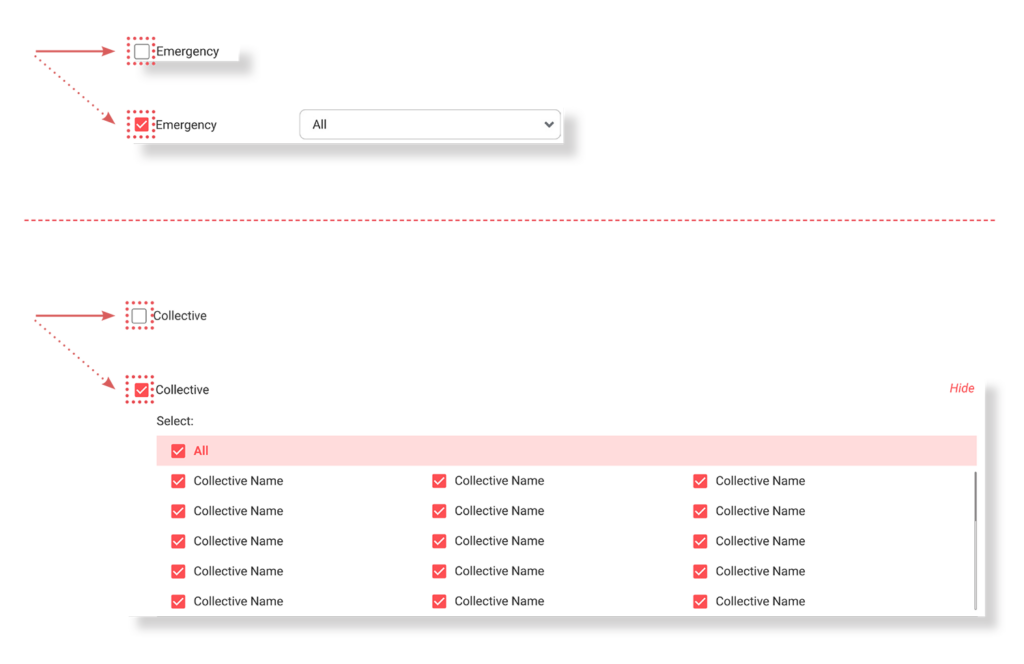
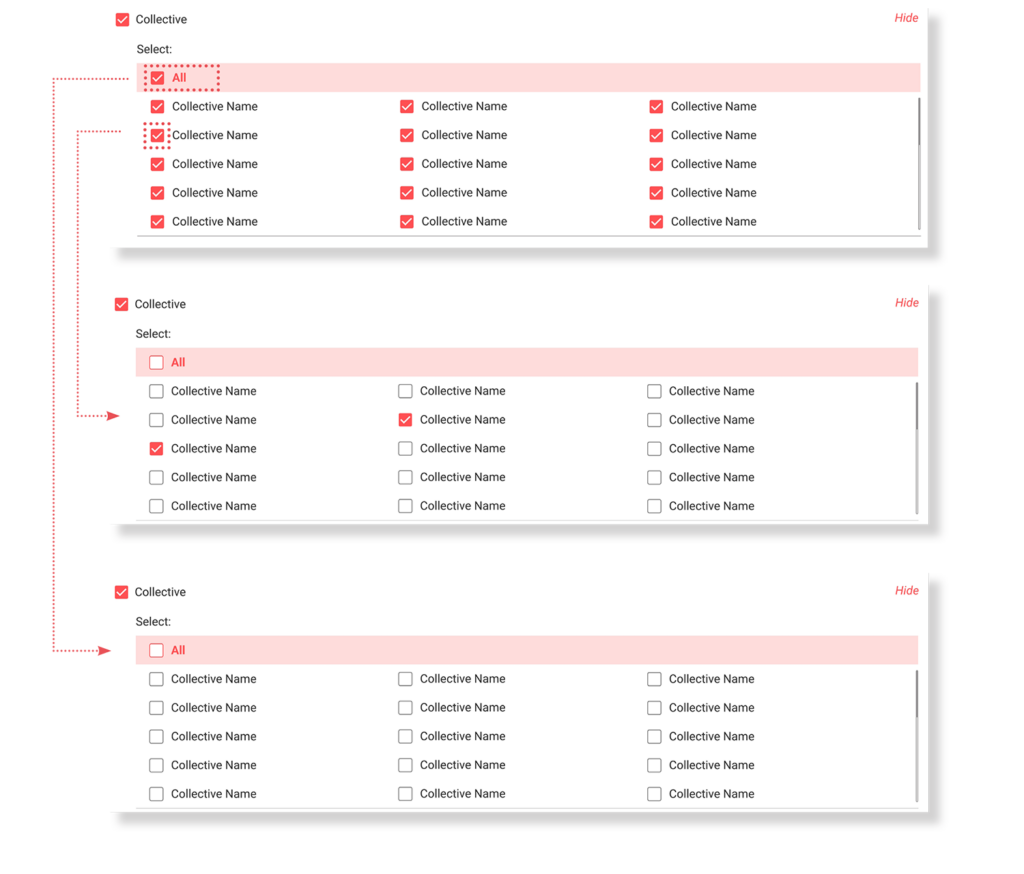
To activate a filter you must check the box in front of the filter name. Once selected, it will display the options corresponding to the activated filter.
Filters will allow you to segment information by:
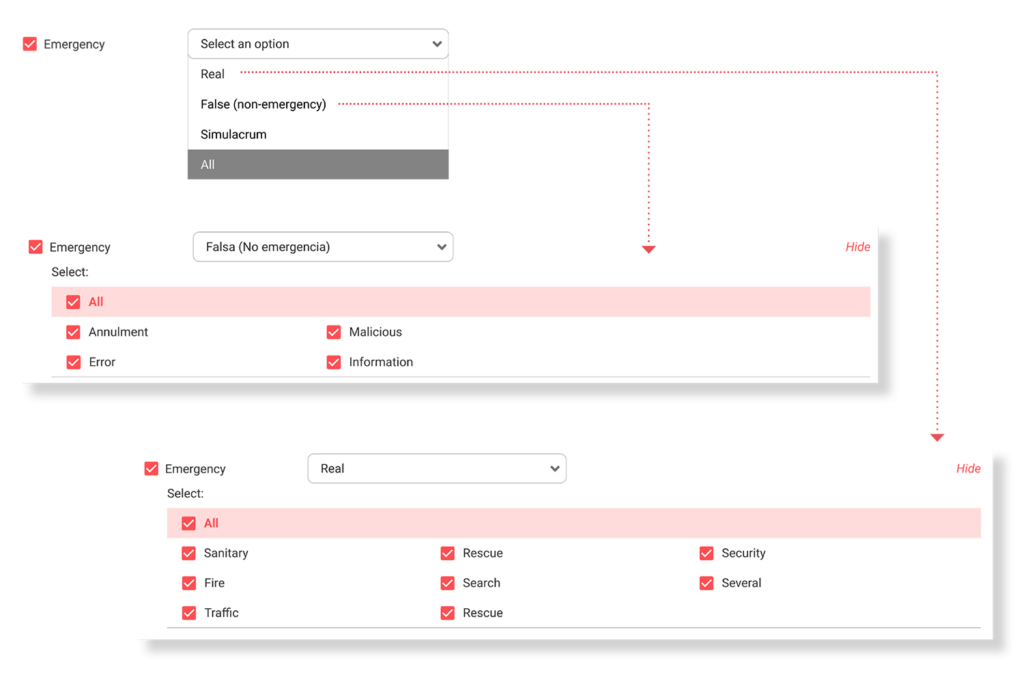
a) Emergency: Allows you to select the type of emergency between: Real, False (non-emergency) or Drill and their respective associations.
b) Alert Reception*: Allows you to enter the date on which the emergency alert was received, segmenting from- to.
c) Alert ended*: Provides spaces to insert the date on which the emergency alert was ended, segmenting from- to.
d) Reception time*: Through this filter you can select the reception time by first indicating whether you want it to be: Equal to, Less than, Between or All.
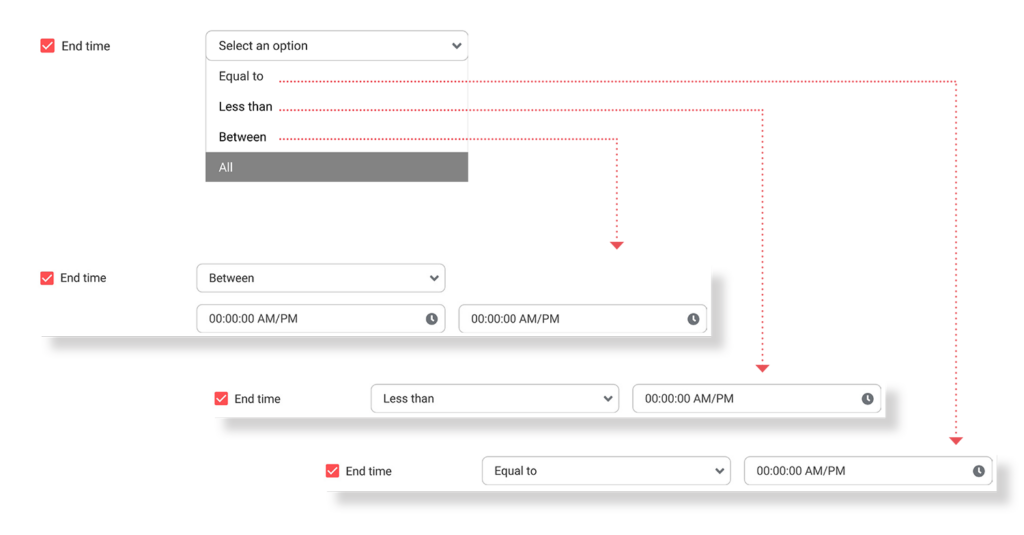
e) End time*: With this filter you can select the end time by first indicating whether you want it to be: Equal to, Less than, Between or All.
*Please note that the data shown uses as a reference the time zone in which the Dr. Security application user is located at the time the alert is issued.
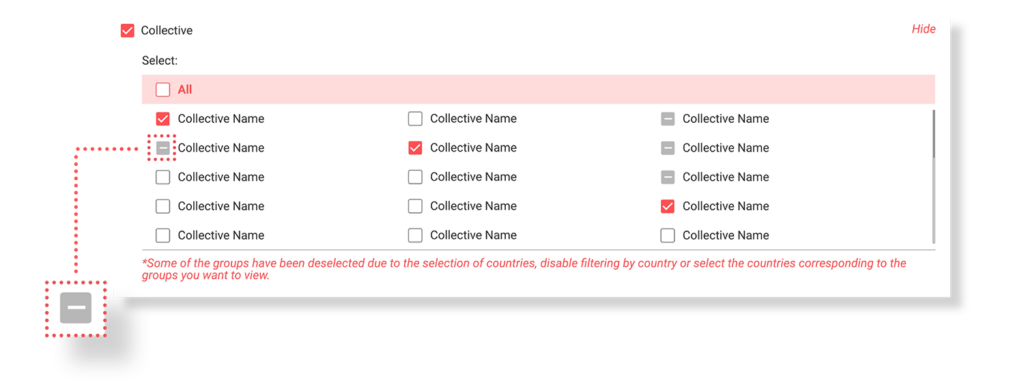
f) Collective: Allows you to select the names of the groups associated with your account.
Note: Keep in mind that this filter is associated with the Country and City filter, so the groups of countries that do not correspond to the selected ones will be deselected.
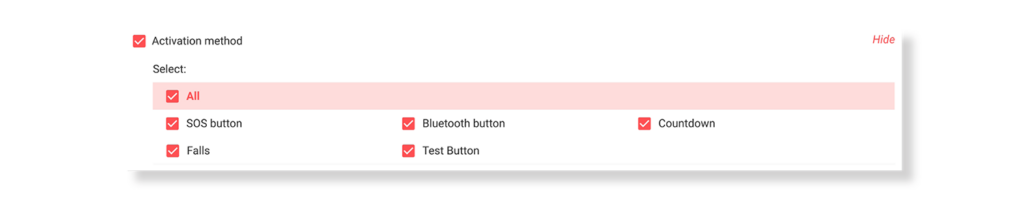
g) Activation Method: Allows you to select the method through which the alert has been activated: SOS Button, Fall, Bluetooth Button, Test Button, Countdown and All.
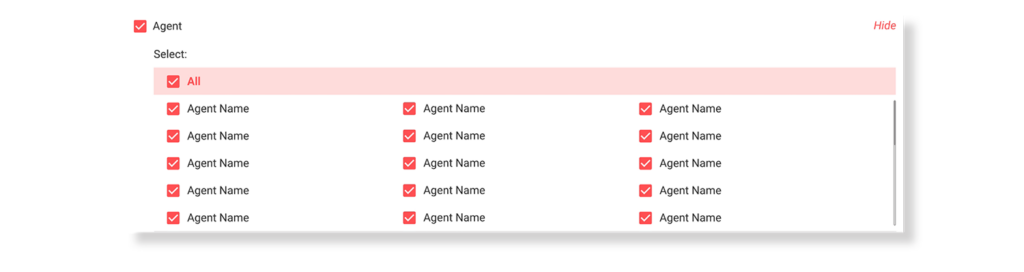
h) Agent: Provides the space to choose the first and last name of the operator who assisted the alert. You can select one, several or all.
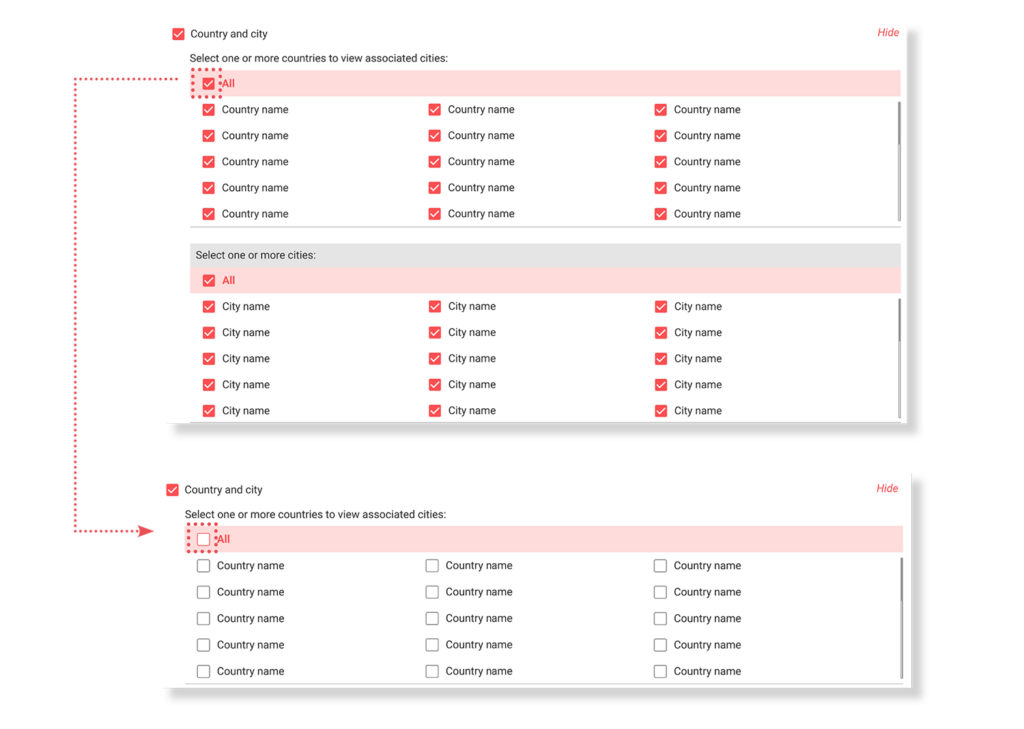
i) Country and city: Provides the space to choose the country and city in which the service is contracted for users.
Notes: Keep in mind that this filter is associated with the Collective filter, so groups of countries that do not correspond to those selected will be deselected.
For the city table to be enabled, you must first have selected one or more countries.
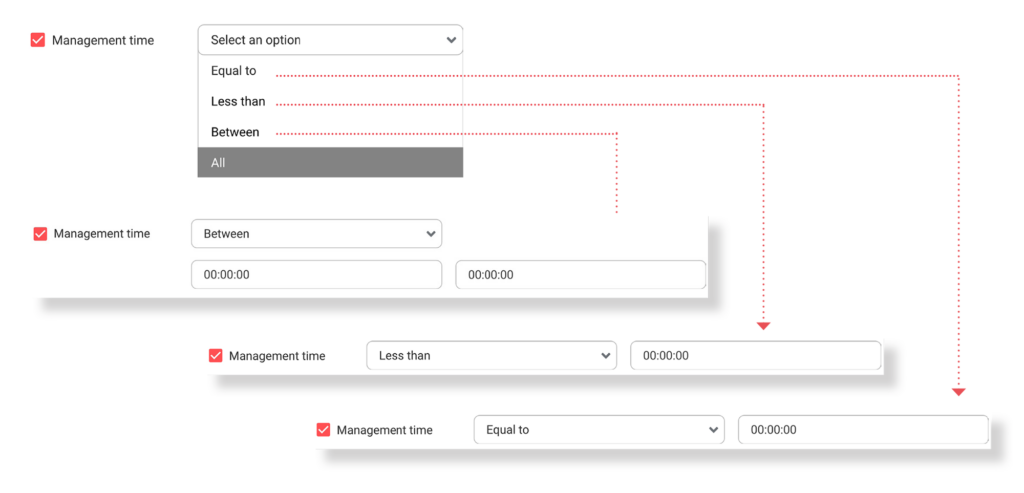
J) Management time: With this filter you can select the management time, first indicating if you want it to be: Equal to, Less than, Between or All.
Notes: Times that exceed 24 hours are not filterable, you must download the CSV file to search and/or filter data that exceeds 24 hours in management time.
J) Opening time: With this filter you can select the time in which the operator has opened the emergency alert, first indicating whether you want it to be: Equal to, Less than, Between or All.
Notes: Times that exceed 24 hours are not filterable, you must download the CSV file to search and/or filter data that exceeds 24 hours in opening time.
Please note that both filtering modes work independently, so you can only apply one at a time, search or filters.
Once the filters are completed:
After applying any of the filters, the data will be automatically displayed in the data table available under this filters section, which you can view by collapsing the filters or scrolling. Remember that, if no filtering is applied based on the date of receipt of the alert, we will only be showing the data corresponding to the last 30 days.
