Push notifications reporting area
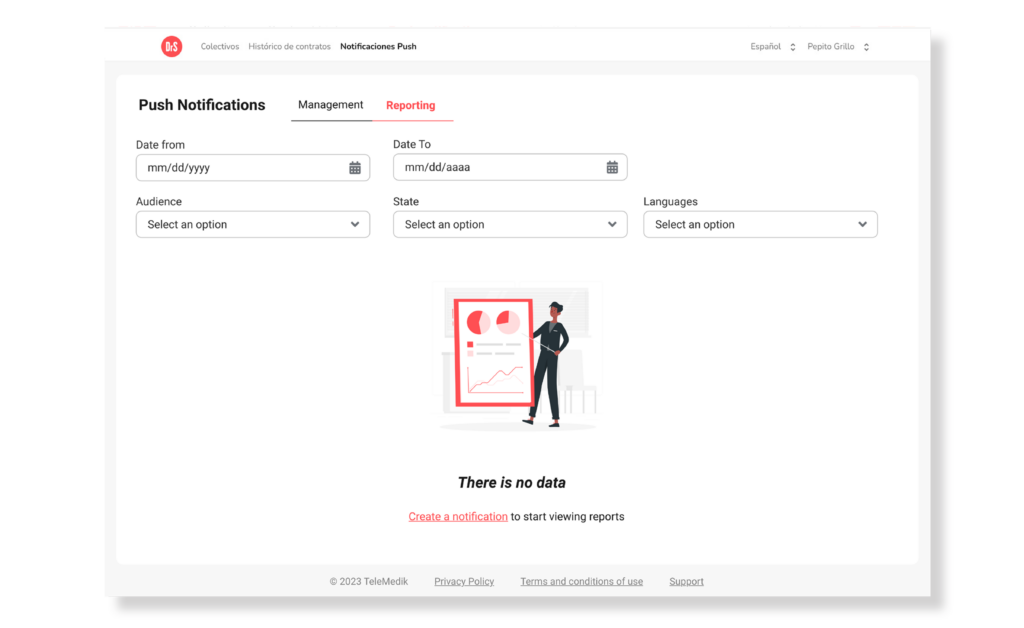
View without previously managed Push Notifications
If you access the reporting tab and do not have notifications sent, with status sent, error and/or deleted, screen will have blanks. It is required to create a notification to start the management.
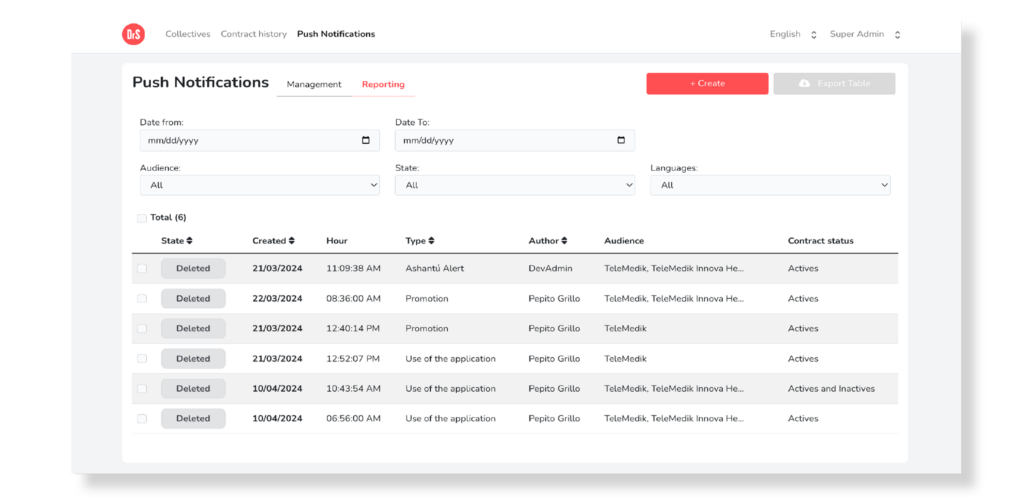
View with pre-managed Push Notifications
When you access the screen with previously managed push notifications, you will find a complete list of all of them, along with their respective data.
Main actions
They allow you to create new notification o export table with previously managed push notifications.
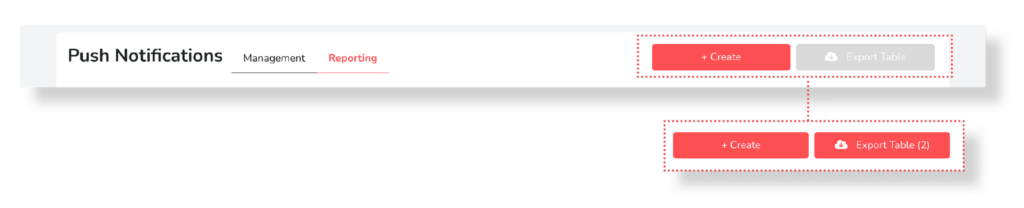
Note: The Export Table button by default is shown disabled. However, once you have selected one or more notifications in the list, the button will become active and change its color to red. Additionally, the number of rows you have selected will be displayed. By pressing the button, you will be able to download a report in .csv format.
Reporting filters
You can divide the information in the Notifications Table using the following filters:
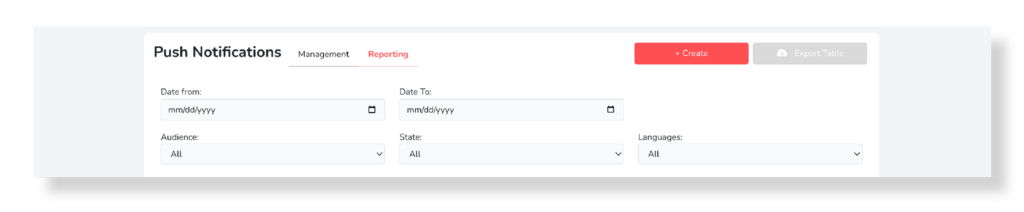
- Date from: Allows you to search for notifications starting from a specific date. You can enter the date manually or click the calendar icon to select the shipping date.
- Date to: Allows you to search for notifications up to a specific date. You can enter the date manually or click the calendar icon to select the shipping date.
- Audience: Displays the list of all the groups associated with the account accompanied by the alternative “All groups”.
- State: Allows you to select between sent, deleted and all options.
- Language: When pressed, it shows the options Spanish, English, Catalan and all.
After completing the selection, the data in the Notification Table will be updated
Notification table
Within the column format, you will have access to all relevant information about a managed push notification. The data presented are:

- Total: Shows the total number of notifications. By checking the box, you will be able to select all notifications and then export them.
- State: Sent, Deleted or Error.
- Created: Date on which the communication was shared and/or would be shared with the selected users.
- Hour: Time at which the communication was shared and/or would be shared with the selected users.
- Type: Shows the type of alert that was sent.
- Author: Name of the creator of the notification.
- Audience: Name of the groups to which the shipment was made and/or would be made.
- Contract Status: Specifies the contract status of the audience from the options: Active; Inactive; and Active and Inactive.
- Users: Shows the number of users to whom the shipment will be applied.
- Language: Specifies the language of the users in the application to whom it will be sent: Spanish, English, Catalan or all.
- Message: Shows the message to send.
- Redirection: Shows the site to which the alert will be redirected after being opened by the user.
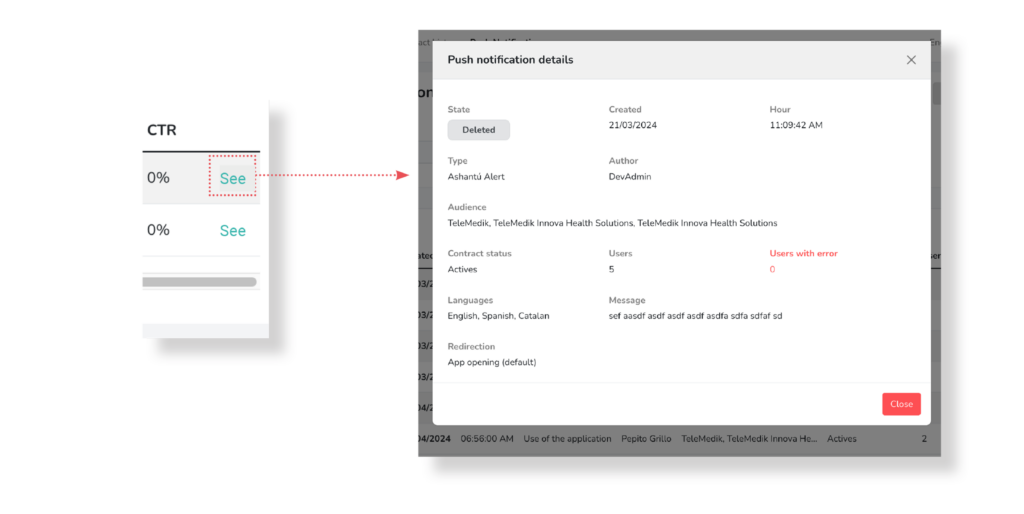
- CTR: Shows the conversion between sent users and push deliveries, as a percentage. • View: Pressing it opens a screen with the complete notification information. (See on next page)
It is worth mentioning that the list shows a total of 100 per page. If there is a larger quantity, you can access them by selecting the following button or directly selecting the page number you want to access, from the pagination icons found at the end of the table.

