Create users manually
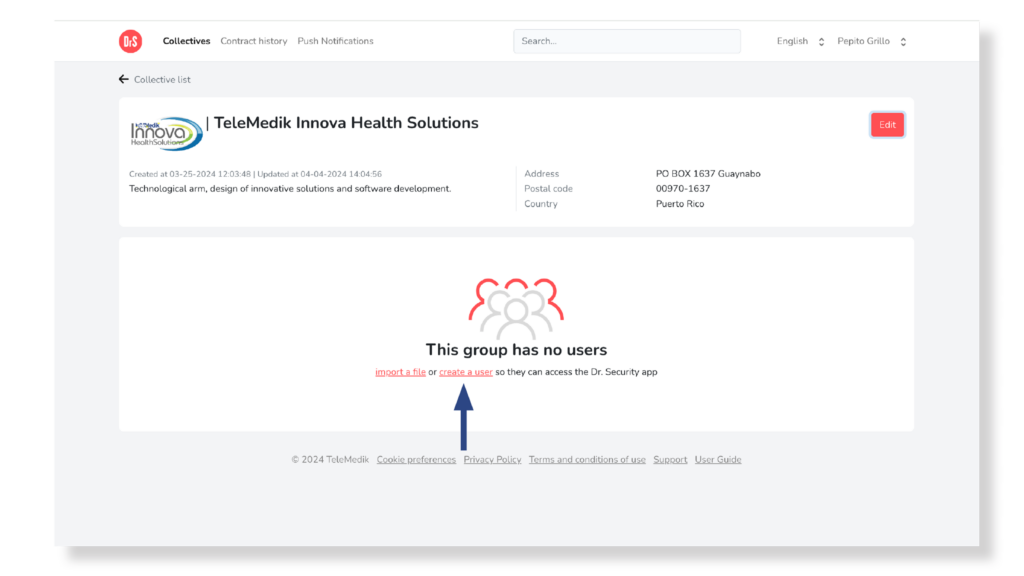
To associate users with a group by creating it manually you must: If the group does not have associated users, select the text Create a user that appears on the screen:
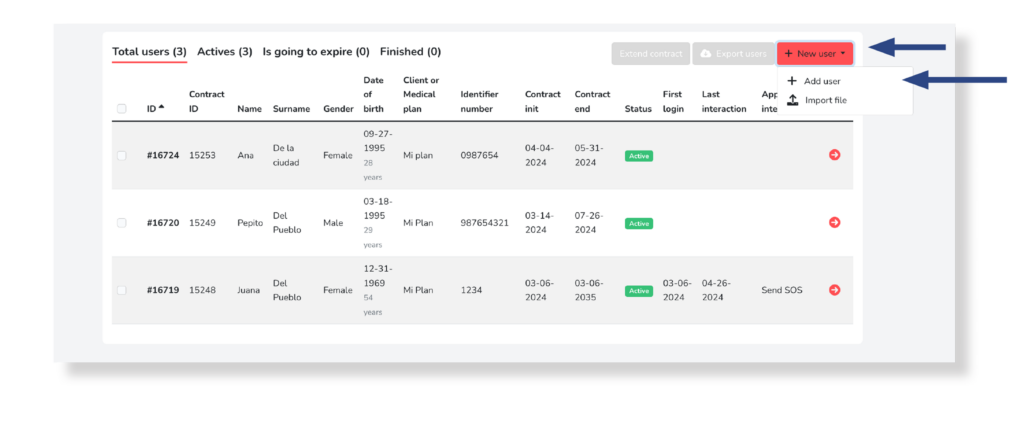
However, if the collective already has associated users, select the New User button, then select the Add User option:
In both cases you will access the user creation process. A form composed of two sections will open:
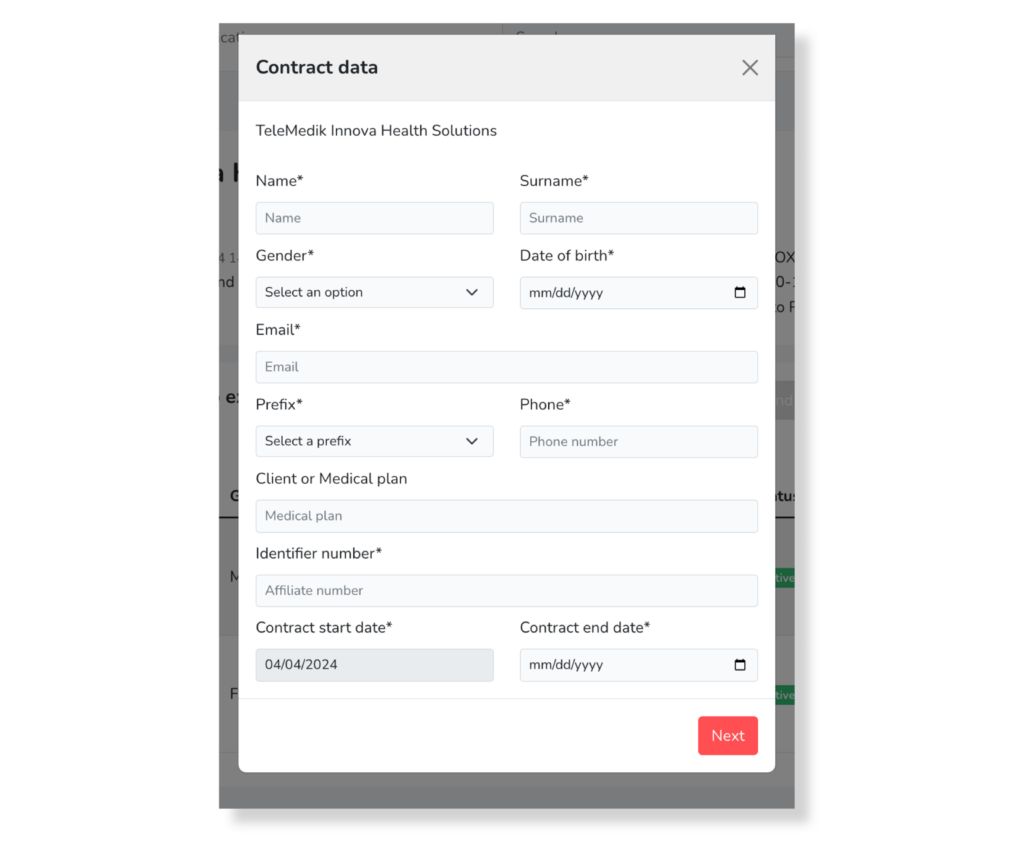
Section 1. Hiring data.
This section refers to the user’s personal and contractual information. It includes some mandatory fields, required to create the user (marked with an asterisk) and others that are optional:
- Name*: Name of the user.
- Surname: Requires at least the first Last name; the second last name is optional.
- Gender*: You must select one of the options: Female, Male, Nonbinary, Female Transgender, Male Transgender, Prefer Not to Say, or Other.
- Date of birth*: User’s date of birth.
- Email*: User’s email address to be used for the subscription to Dr. Security emergency service.
- Prefix*: Prefix associated to the user’s phone number.
- Phone*: User’s phone number to be used in case of an emergency.
- Client or medical plan: Medical plan that the user has contracted.
- Idenandier number*: User’s membership number.
- Contract start date*: Date on which the user will start their contract with the DrS emergency service. It corresponds to the current date and does not allow editing.
- Contract end date*: Date on which the user will end their contract with the DrS emergency service.
After completing the data, you must select the Next button to access section 2
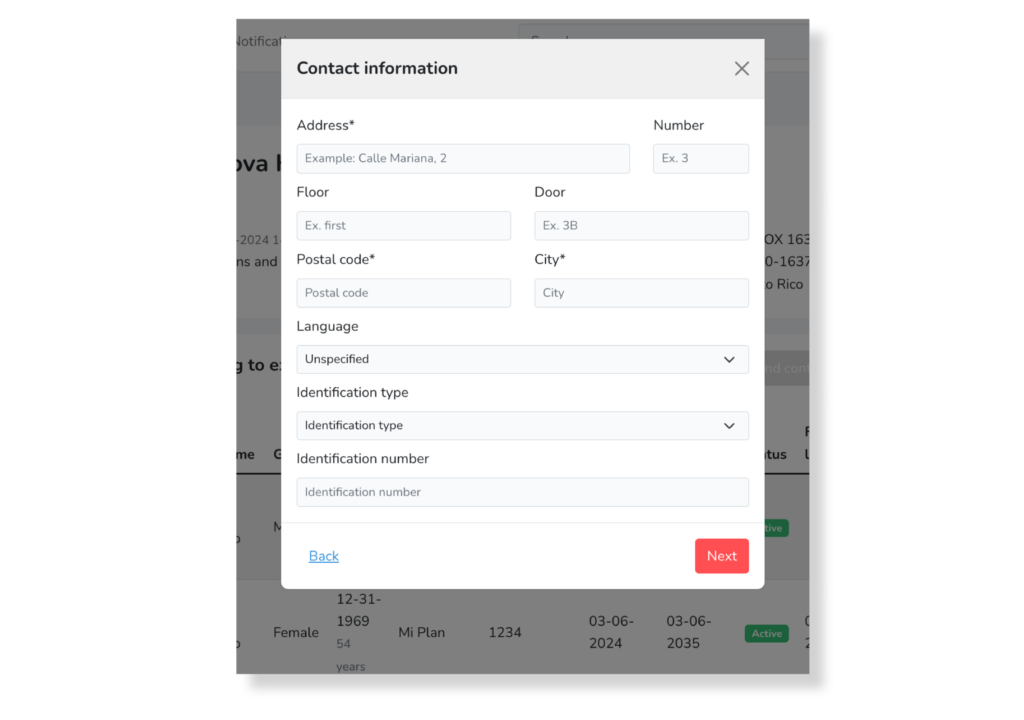
Section 2. Contact Information
Refers to the user’s contact information. It includes some mandatory fields, required to create the user (marked with an asterisk) and others that are optional:
- Address*: Postal address where the user’s home is located (example: Street, Avenue…).
- Number: Number where the user’s home is located.
- Floor: Floor in which the user’s home is located.
- Door: Door where the user’s home is located.
- Postal Code*: Postal code where the user’s home is located.
- City*: City to which the user’s home belongs.
- Language: Language with which the user must be communicated.
- Identification type: Type of user identification to choose one of the options: DNI; Immigration document; Passport; Driver’s license; Real ID.
- Identification number: Identification number referring to the selected type of identification.
After completing the data, you must select the Next button.
Once the user creation is complete, the following screen will be verified:
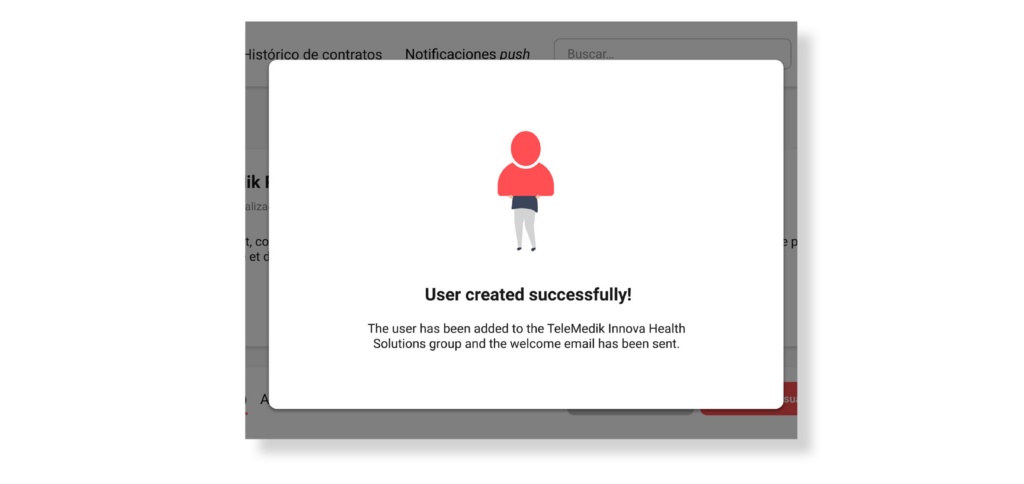
It will disappear in a few seconds, then you can view the created user in the user list.
Simultaneously, a welcome email to the email linked to the created user, through which you can access the Dr. Security mobile application.
