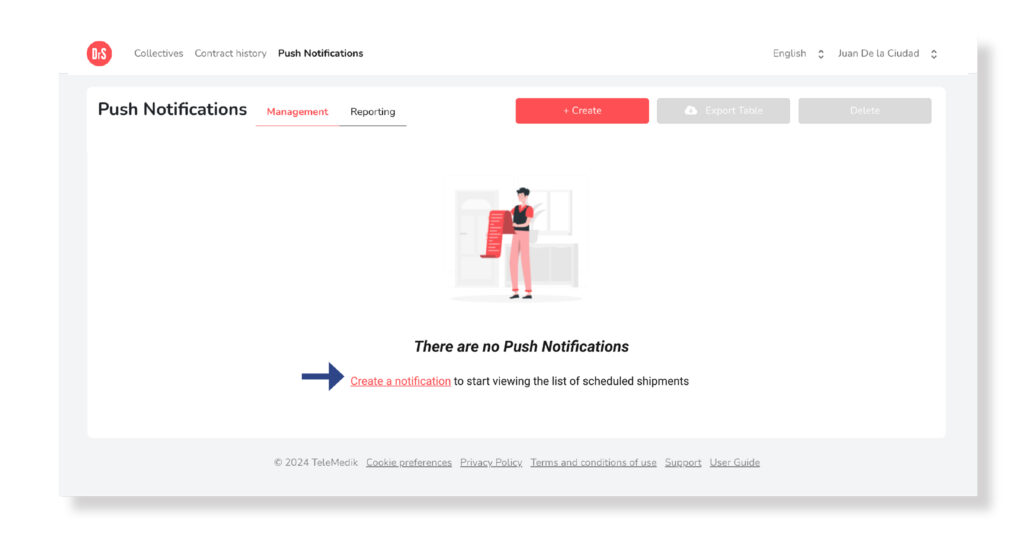

You can begin the creation process in two different ways:
a) If there are NO scheduled notifications, you must click on the text “Create a notification…” as it appears on screen. Selecting it will open the notification creation process.
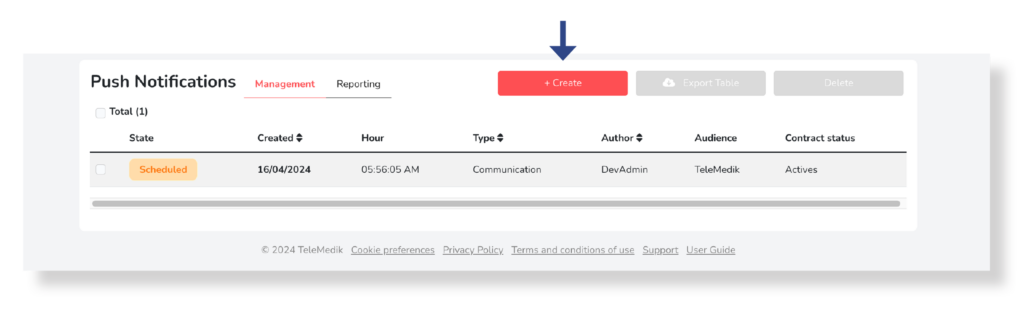
b) If there are scheduled notifications, to access them you must press the Create button. Selecting it will open the notification creation process.
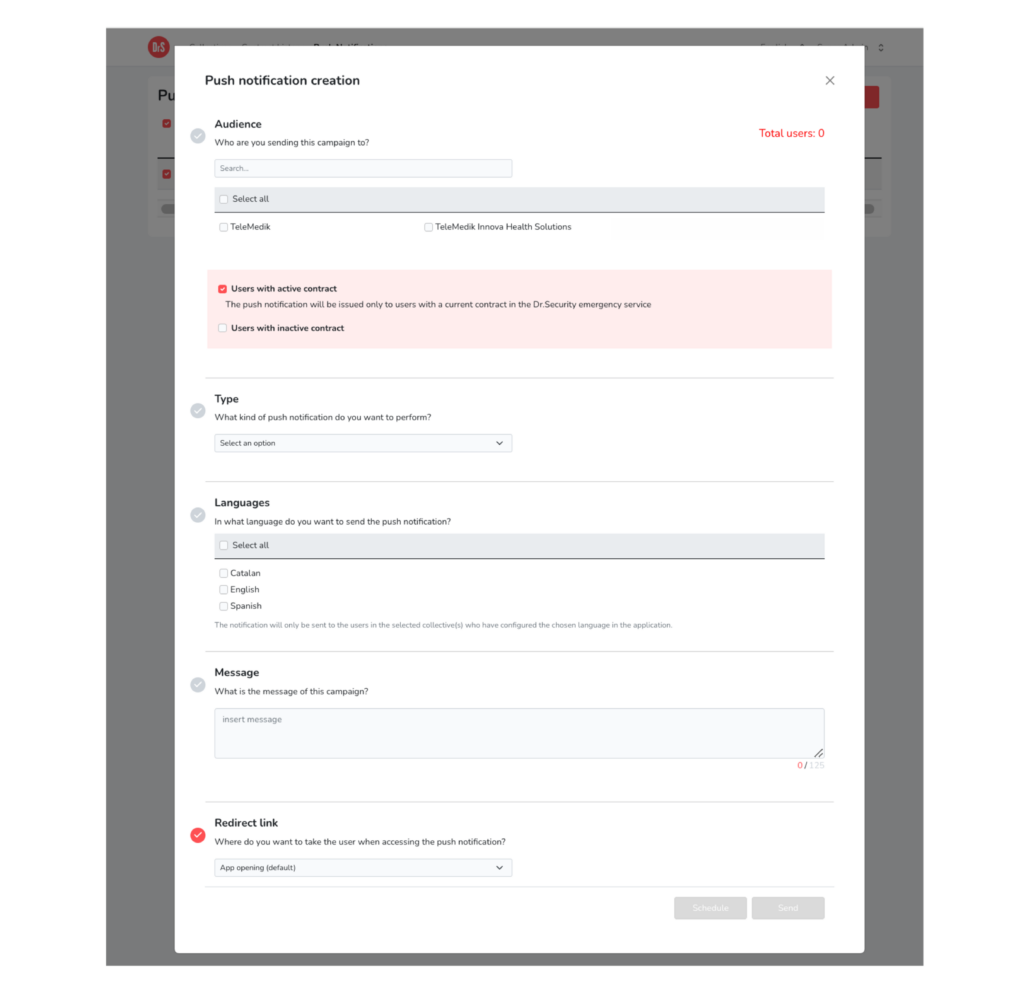
Form
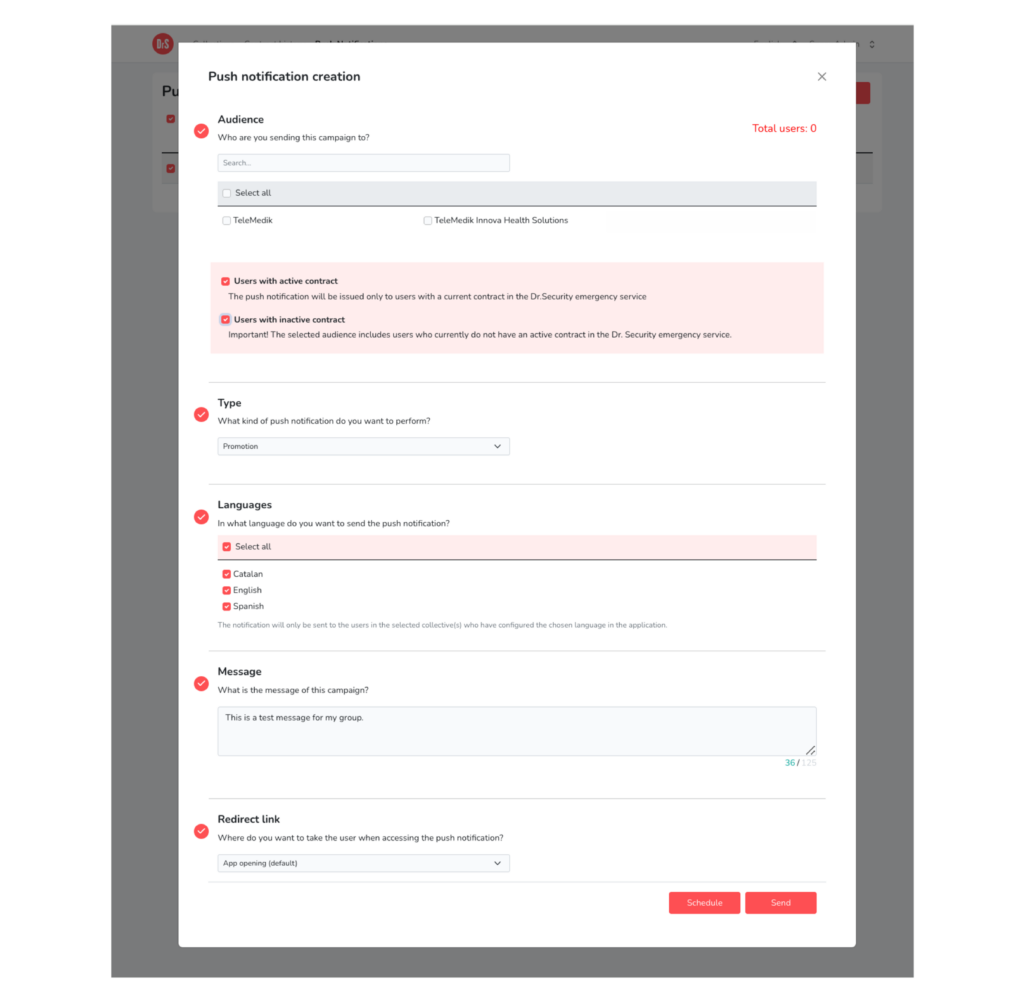
Upon accessing the Push Notification Creation screen, a form will be presented that must be completed in order to send or schedule notifications. You must complete:
• Audience– The group of users you want to broadcast the message.
• Type– The classification of the alert that will allow you to later filter the data in the report.
• Language– The language chosen by the users in the application, the communication will only be issued to the users that correspond to it or the selected language(s).
• Message– The text that the selected users will receive.
• Redirect link– Not visible to the user, it is the place that will be redirected when clicking the pushnotification.
Once the fields are completed, you can select between:
• Send the push notification instantly: It will be issued as soon as the sending process iscompleted.
• Schedule the push notification: It will be issued automatically on the date and time selected during the scheduling process.
Audience
Who do you want to send the push notification to? Select one, several or all of the groups to which you want to issue the notification. Users relevant to the selected groups will receive it on their device.
If you cannot locate the desired group, you can perform a manual Search through the search engine. It will show the groups most similar to the text you write.
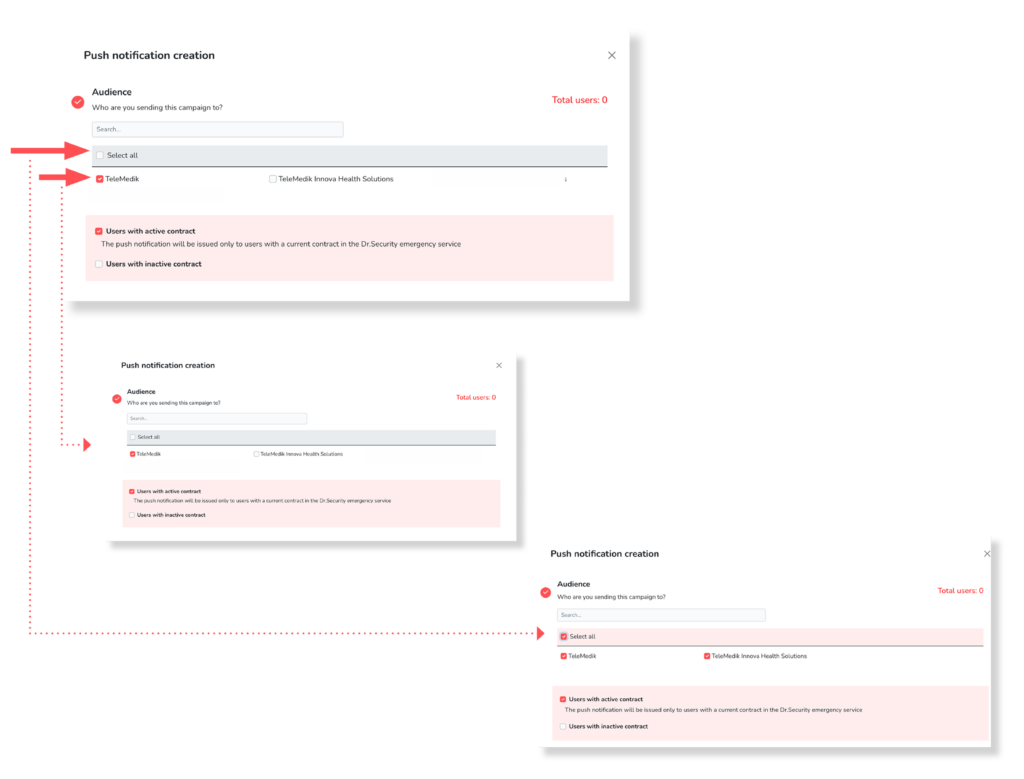
How to send the push notification to all groups?
Press the box that indicates “Select all” located at the top of the list of groups. Automatically, all the boxes located on the left side of the group will show a red check. That means they are selected and your users will receive the push notification.
How to select one or more groups?
In the list of existing groups, select the box to the left of the group you want to choose. Make sure it is marked with a red check. You can select as many as you like.
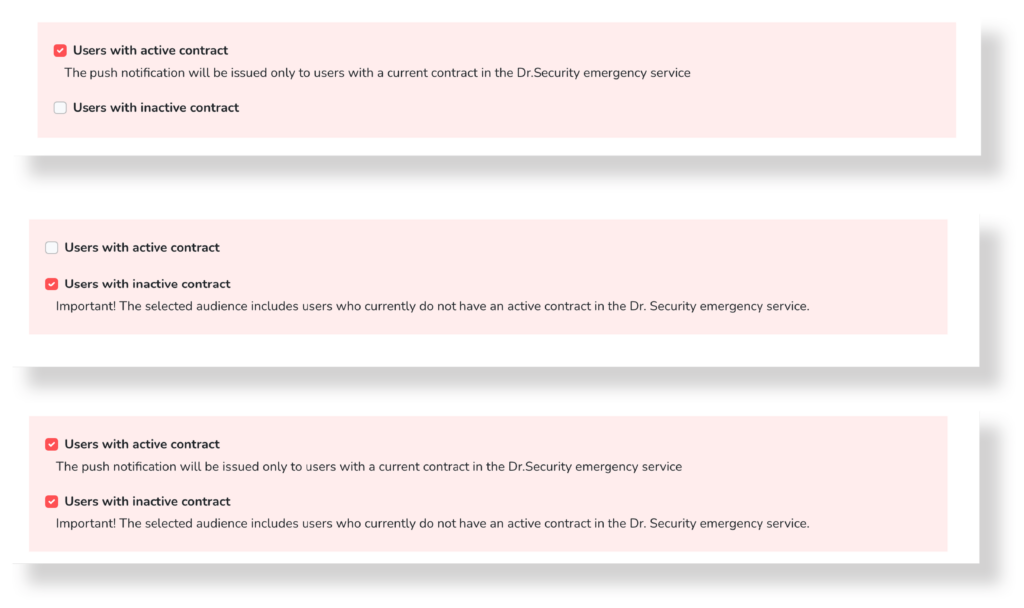
Note: The number of users to whom the shipment will be made takes into consideration the selected groups, the number of users in these according to the contract status and the language. The number will be displayed as zero and will begin to display the number of shipments to be made after completing these fields.
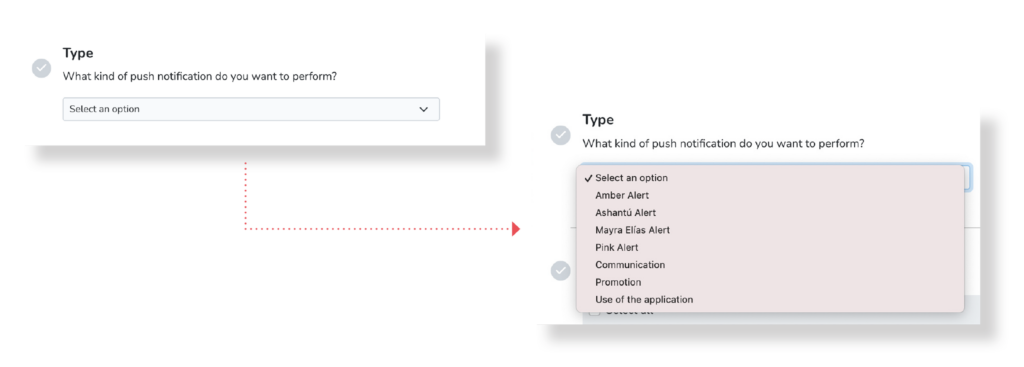
Type
You can classify according to the Push Notification you want to make, different options are shown that will allow you to filter the data later in the Reporting area. You must choose between:
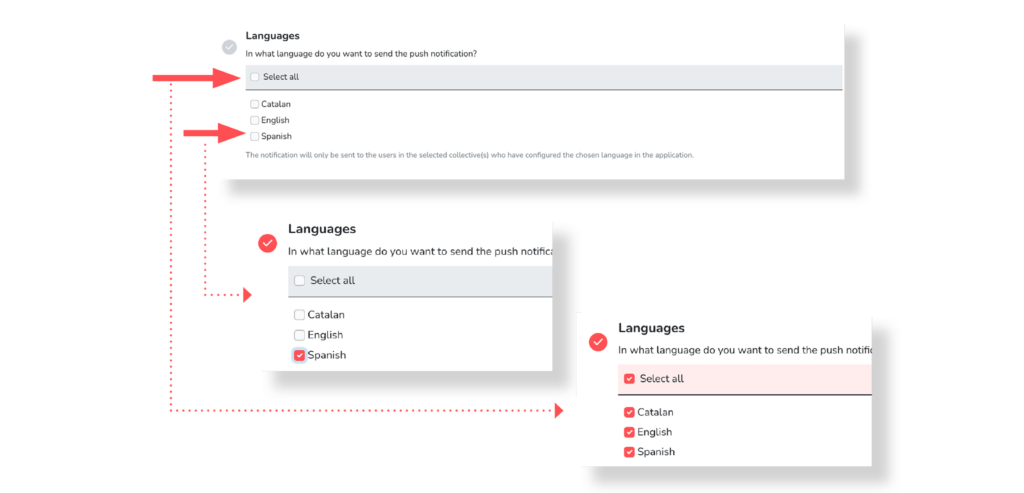
Language
The notification will be sent exclusively to users within the selected group(s) who have configured the chosen language in the application. You can segment the languages between Spanish, English and Catalan or choose all available options. This configuration will allow you to filter the data later in the Reporting area.
NOTE: The message will be sent as programmed, regardless of the language(s) you have selected. Make sure that the language selected corresponds to the language in which you wrote the message.
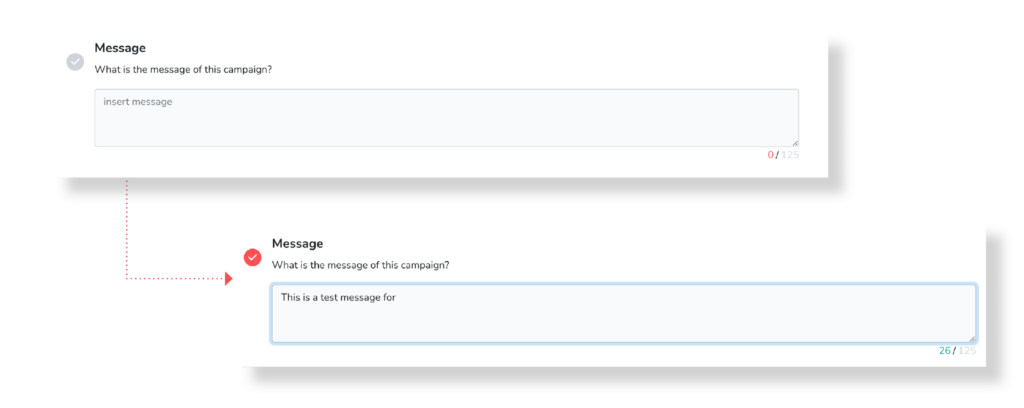
Message
Allows you to write the message you want to send to the selected users. When writing the message, keep in mind that the minimum number of characters is 25 and the maximum is 125. When you meet the required number of characters, the quantity will be marked in green; if the quantity is exceeded or does not exist, the number of characters will be displayed in red.
Redirect link:
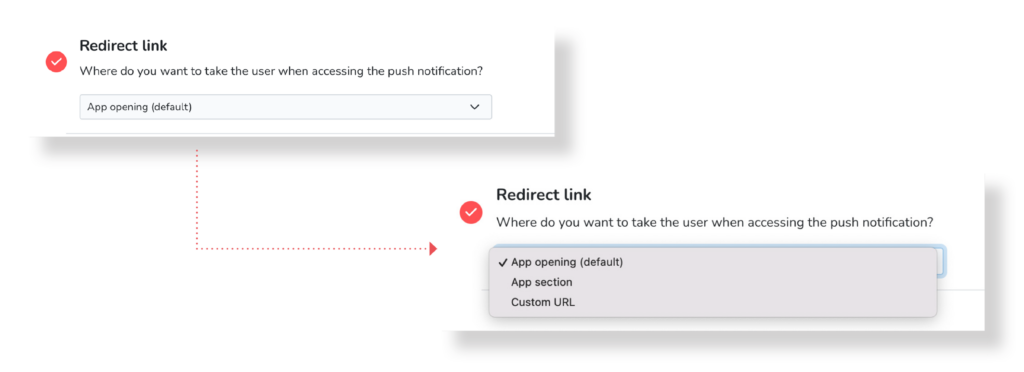
Allows you to select the destination to which the user will be redirected after opening the notification. By default, the “App Opening” alternative is selected, however, you can choose other options:
• Opening the app (default): Automatically opens the Dr. Security application.
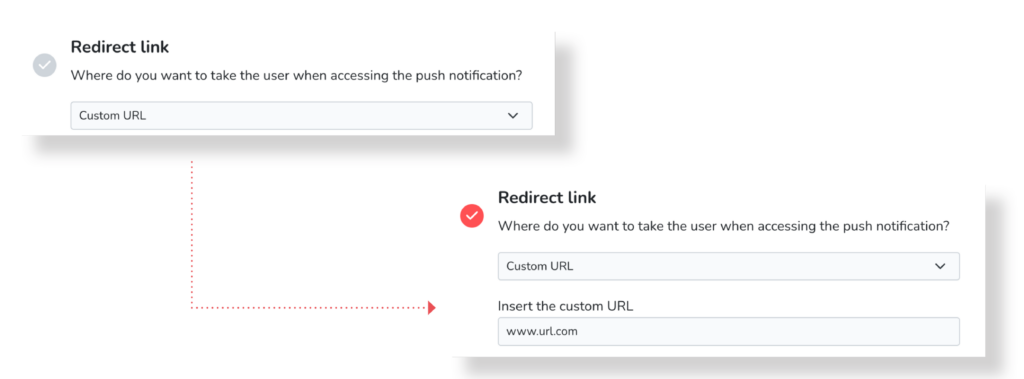
• Custom URL: Selecting it displays a new field to insert a custom URL.
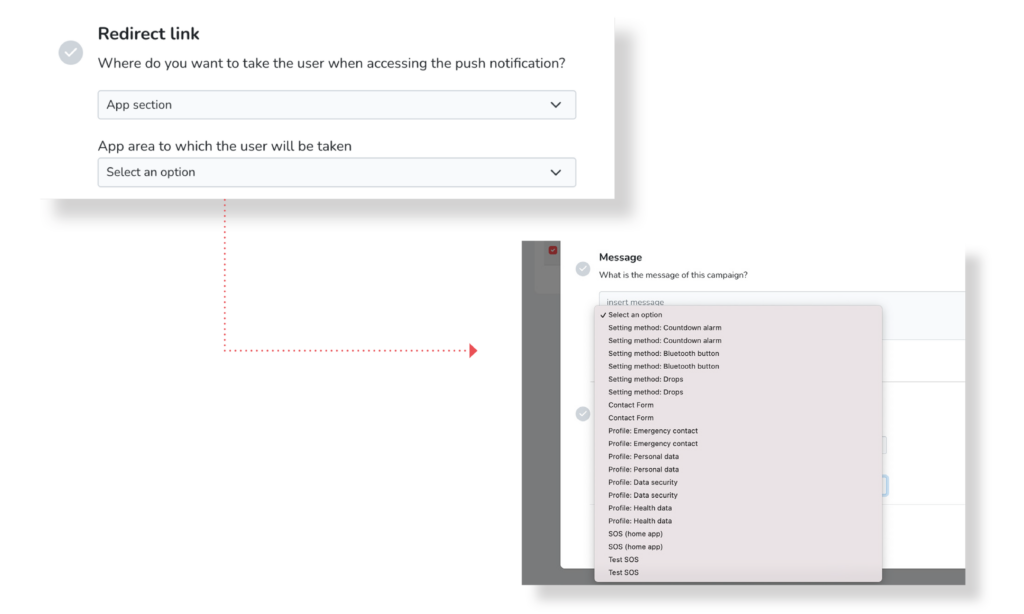
• App section: When selected, a new field is displayed to select the section of the application to which you want to direct the user. It could lead you to:
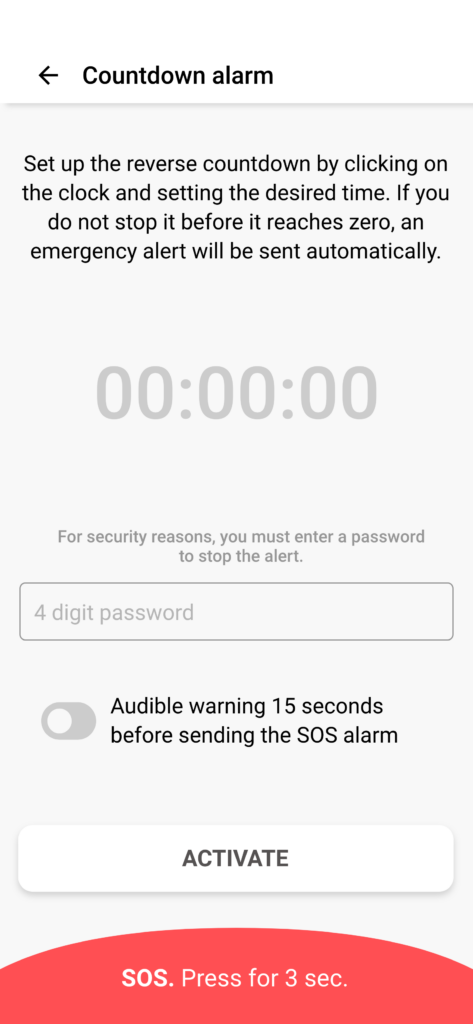
Next, you will see the screens to which the user will be directed according to their selection.
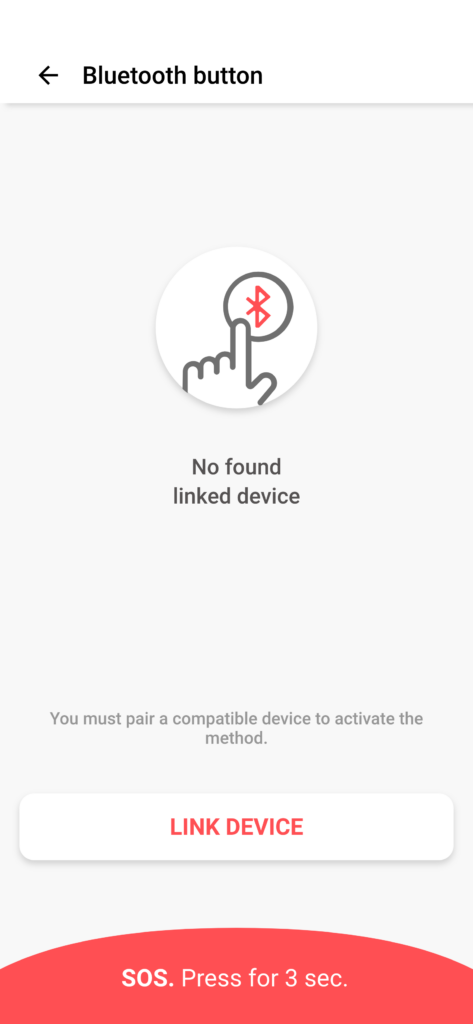
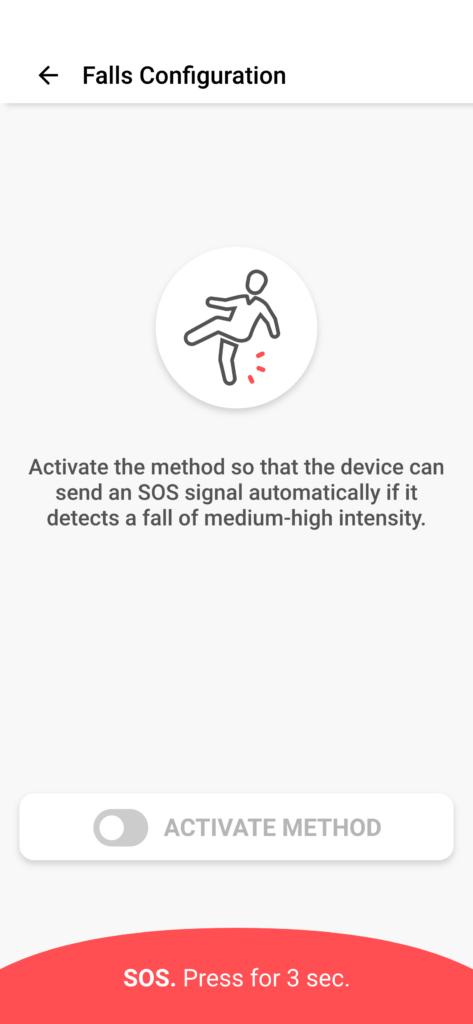
Method setting:
Countdown Alert
Bluetooth Button
Falls
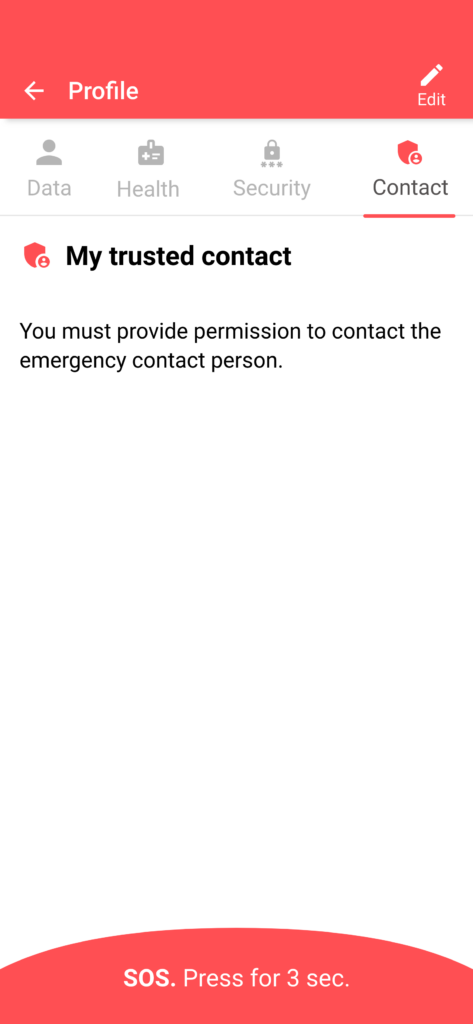
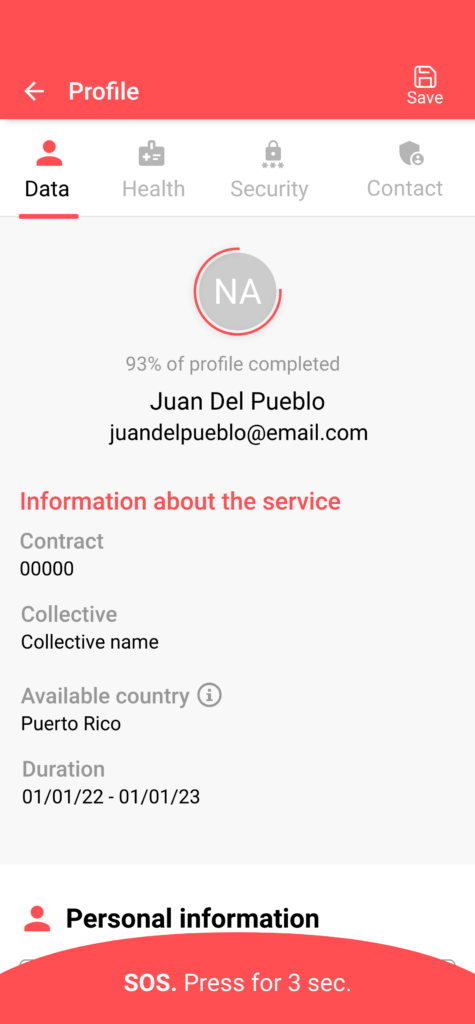
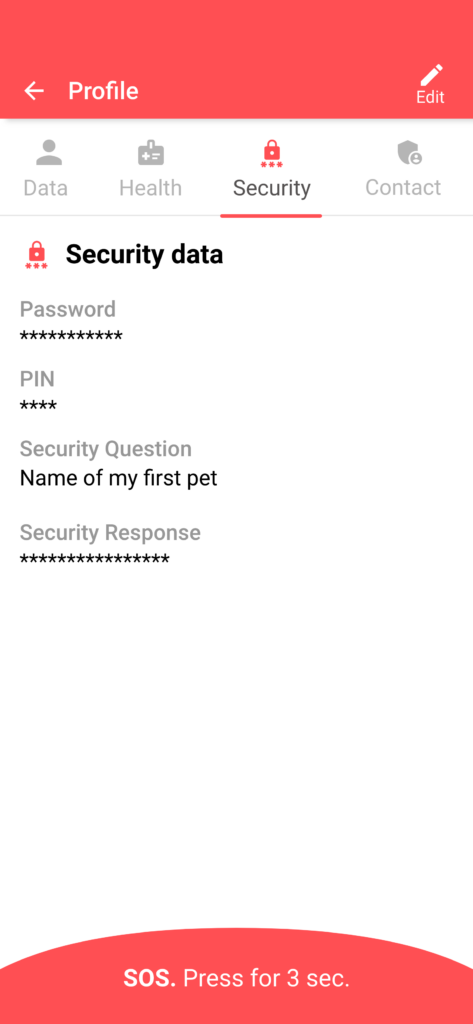
Profile:
Emergency contact
Personal data
Security data
Health
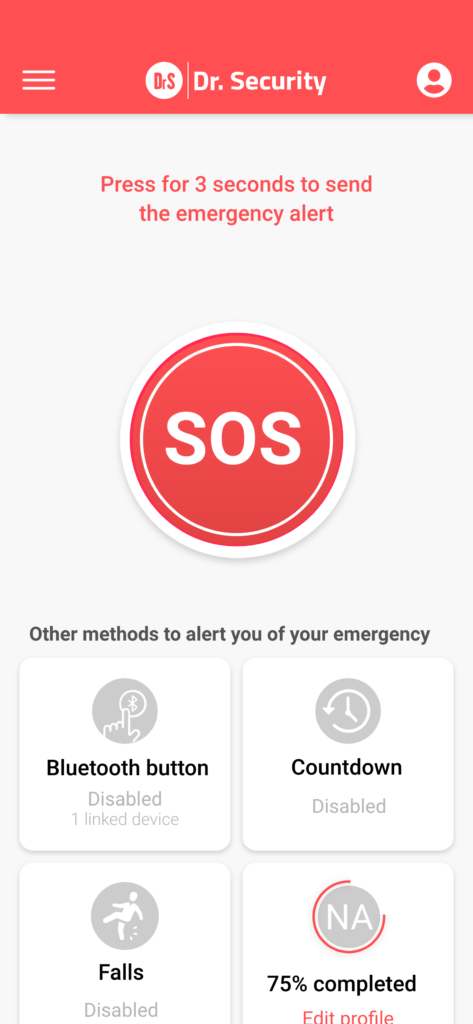
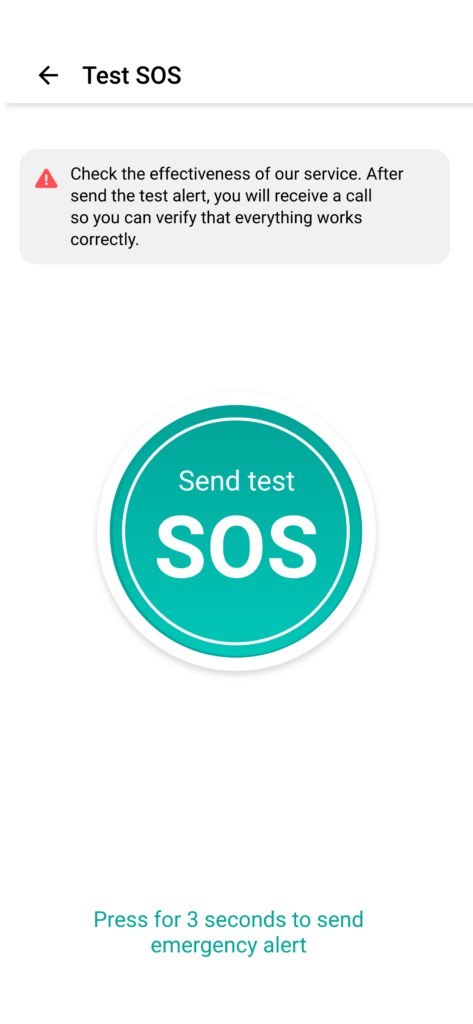
Other sections:
Contact Form
SOS (home app)
Test SOS
Completed form
Upon completing all the fields of the form, you will be able to select between the actions:
• Send the push notification instantly: It will be issued at the same time that the sending process is completed.
• Schedule the push notification: It will be issued automatically on the date and time selected during the scheduling process.
